Join us for VS Code Live: Agent Mode Day on April 16th!
Dismiss this update
Testing in C# in Visual Studio Code is enabled by the C# Dev Kit extension. It's a lightweight extension to enhance your C# development experience.
The extension supports the following test frameworks:
The C# Dev Kit extension provides the following features:
Note: If you have already set up your C# test framework in your project, you can skip to the Features section.
You can enable a test framework for your project with just a few steps in the Solution Explorer:
xUnit
Open the Command Palette and select .NET:New Project.. then select xUnit Test Project and provide name and location for the new project. This will create a new project and directory that uses xUnit as the test library and configures the test runner by adding the following <PackageReference /> elements to the project file.
From the Terminal, run the following command:
dotnet add [location of your test csproj file] reference [location of the csproj file for project to be tested]
NUnit
Open the Command Palette and select .NET:New Project.. then select NUnit3 Test Project and provide name and location for the new project. This will create a new project and directory that uses NUnit as the test library and configures the test runner by adding the following <PackageReference /> elements to the project file.
From the Terminal, run the following command:
dotnet add [location of your test csproj file] reference [location of the csproj file for project to be tested]
MSTest
Open the Command Palette and select .NET:New Project.. then select MSTest Test Project and provide name and location for the new project. This will create a new project and directory that uses MSTest as the test library and configures the test runner by adding the following <PackageReference /> elements to the project file.
From the Terminal, run the following command:
dotnet add [location of your test csproj file] reference [location of the csproj file for project to be tested]
Once you have written test cases, you will need to perform a build of your test project for them to be recognized as a test. Open the Command Palette and select .NET: Build. This will build your project.
C# Dev Kit will generate shortcuts (the green play button) on the left side of the class and method definition. To run the target test cases, select the green play button. You can also right-click on it to see more options.
The Test Explorer is a tree view to show all the test cases in your workspace. You can select the beaker button on the left-side Activity Bar of Visual Studio Code to open it. You can also run/debug your test cases and view their test results from there. If you have not performed a build of your project, select the Refresh Tests button to perform a build and discover all of your tests.
C# Dev Kit now supports code coverage via the VS Code Code Coverage APIs. This feature allows you to measure the effectiveness of your tests by showing which lines of code are executed during testing and which are not.
Code coverage is a metric that tracks the percentage of your codebase executed by automated tests. It helps identify untested sections of code and improves the quality of your testing by ensuring comprehensive coverage.
Note: To enable code coverage, ensure you have the latest version of C# Dev Kit installed.
To run your tests with code coverage, follow these steps:
If you have generated a coverage report and want to view the result in VS Code:
To improve test coverage of your code:
After running/debugging the test cases the state of the related test items will be updated in both editor decorations and the Test Explorer.

You can select the links in the stack trace to navigate to the source location.
There are testing commands (for example, Run All Tests) that can be found by searching for Test: in the Command Palette (⇧⌘P (Windows, Linux Ctrl+Shift+P)).

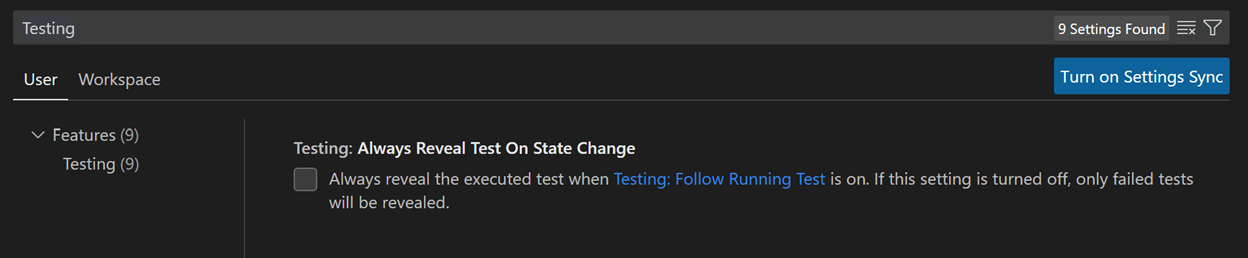
There are VS Code settings specific to testing that can be found by searching for Testing in the Settings editor (⌘, (Windows, Linux Ctrl+,)).